My Favorite Blockprinting Supplies
Welcome to the next post of my Favorite Art Supplies series, blockprinting supplies! I had not been planning to post about blockprinting quite so early in the series, but I recently posted a stamp I carved to make wrapping paper on Instagram, and I received so many questions about what supplies I used. So I realized that blockprinting is something that definitely interests you all!
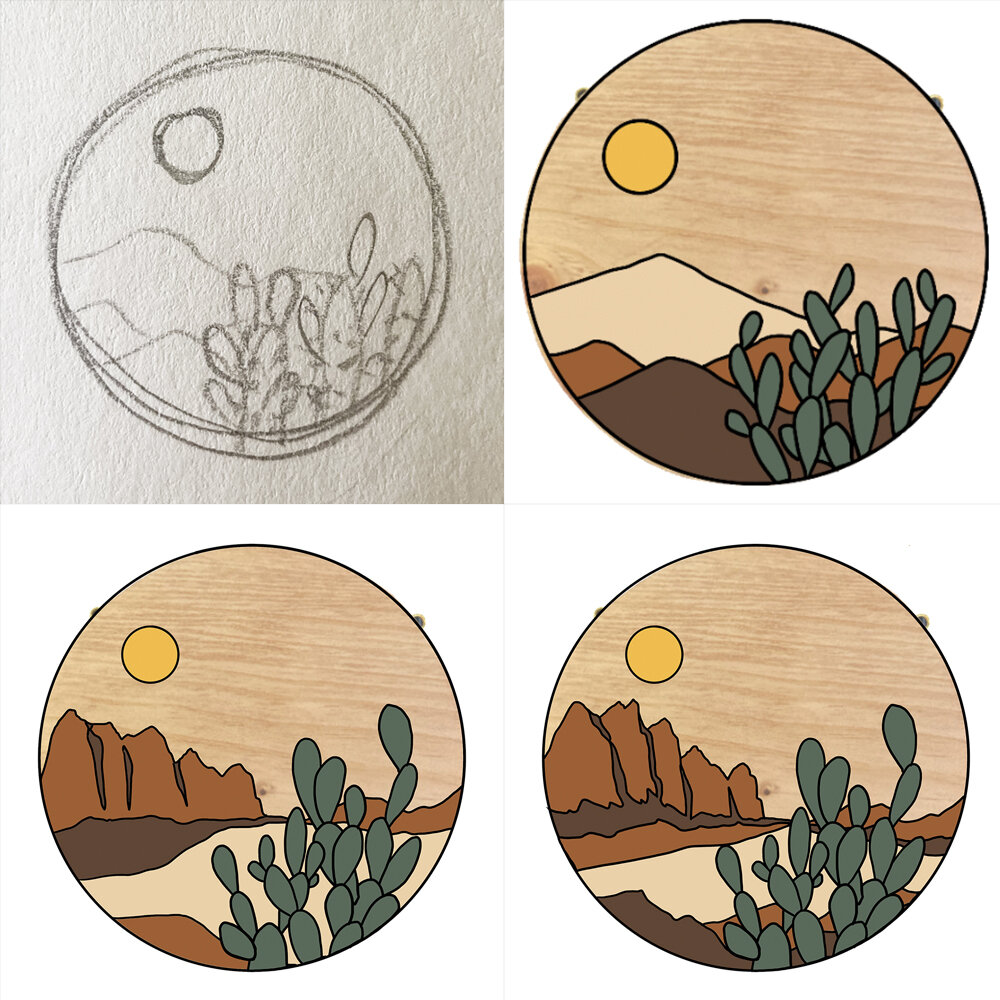
I don’t consider myself to be a professional blockprinter, it’s mainly something I do for my just-for-fun creative time. It’s so different from my usual process, and the tactile nature of carving blocks is extremely therapeutic. I hope you’ll enjoy the process too if you decide to try it out!
This post contains affiliate links, which means that we may earn a small commission if you make a purchase through that link. This never adds any extra cost to you.
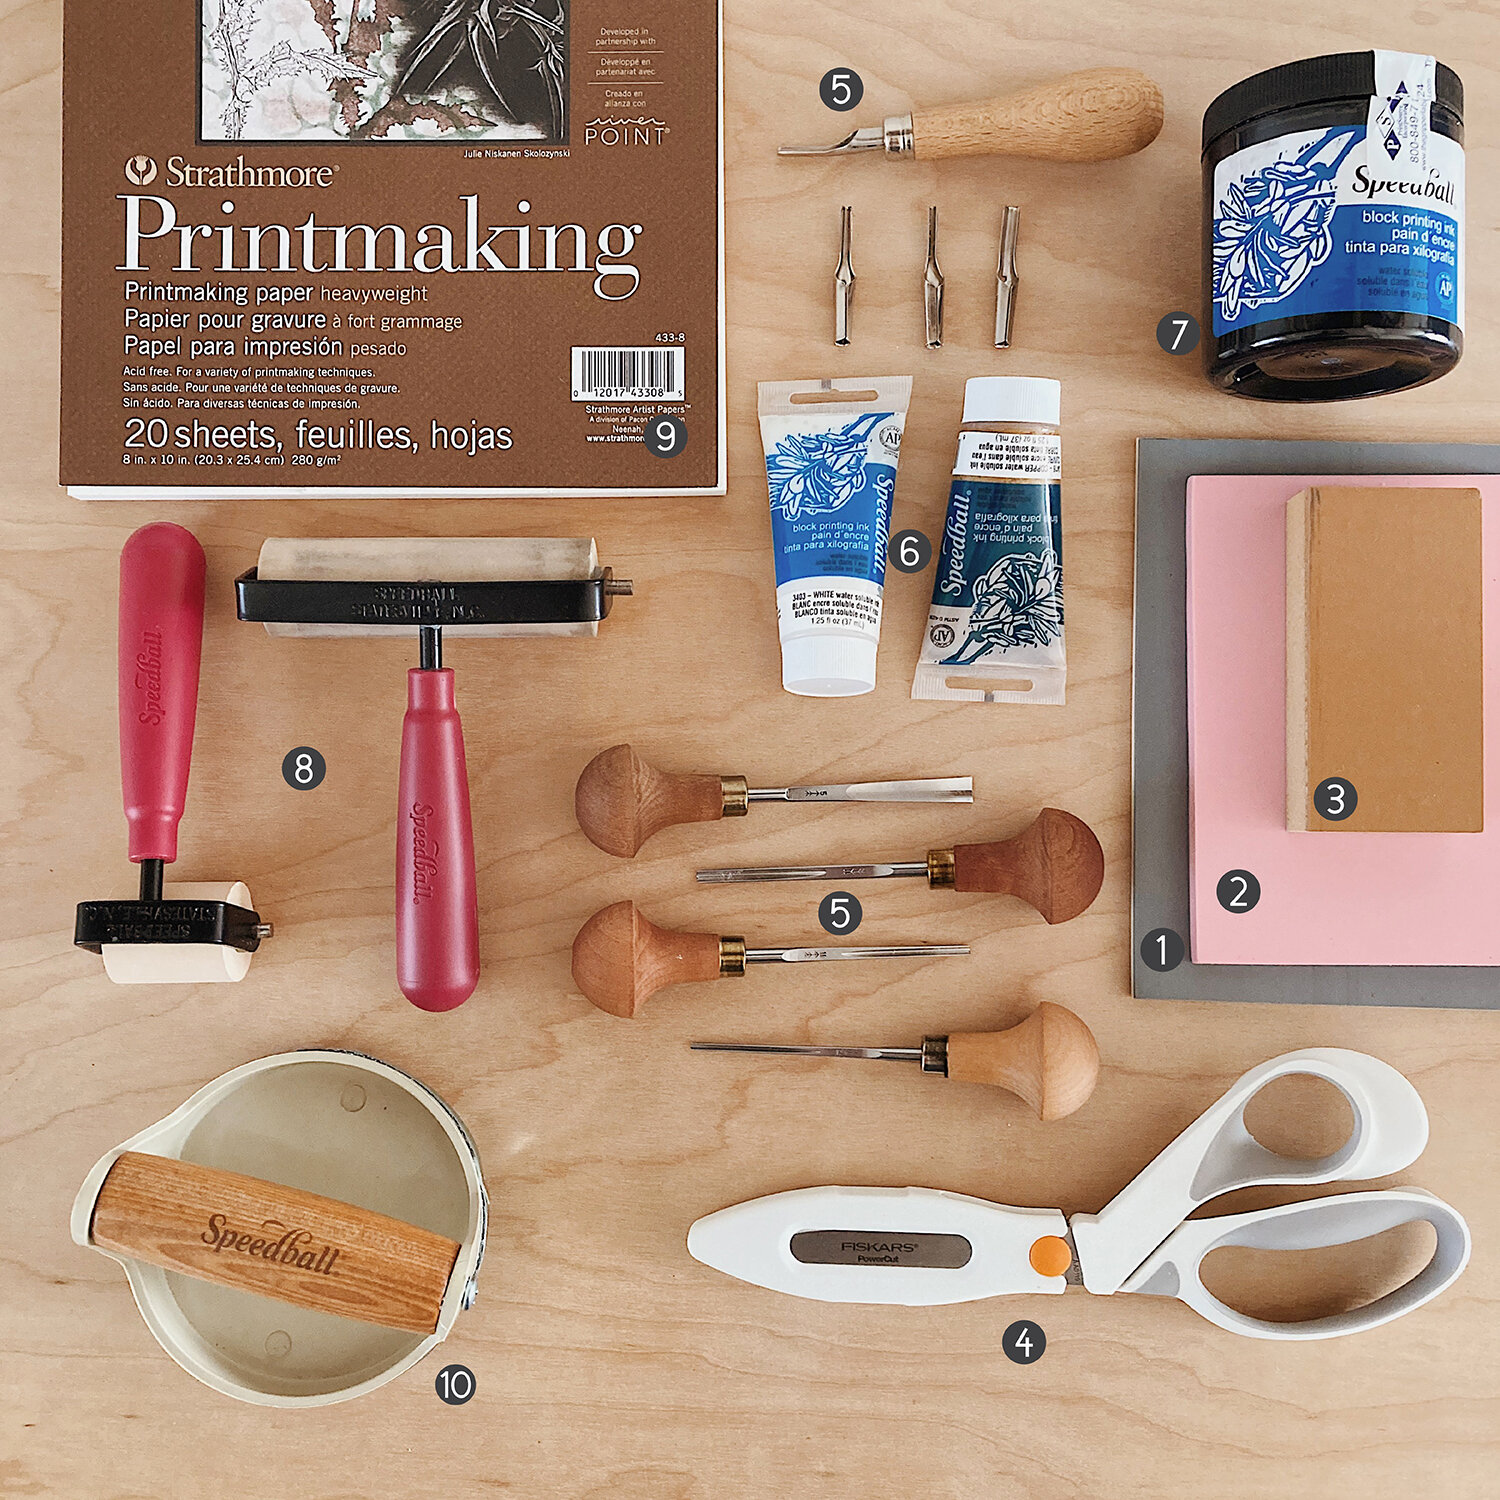
BLOCKS
First, you need to choose a carving material. You really only need one type to start, but I included a few options because each has its advantages.
This one is my favorite to work with. I do find that it snags a little bit more easily than speedy carve (below), but overall it’s still easy to carve and it’s nice and soft. My favorite part about it is that it’s made from two layers of rubber, gray on top and white on the bottom. When you carve, you reveal the white layer underneath the gray, and it provides a nice contrast that lets you see what your printed design will look like.
2 - SPEEDY CARVE FROM SPEEDBALL
Probably the easiest to start with. It’s a good mix of soft and easy to carve but also firm enough to prevent snags. My only complaint is that it’s pink haha. Blick has a similar product that is blue, but I have not tried that one yet, so I won’t recommend it until I have tried it myself.
3 - BATTLESHIP GRAY LINOLEUM FROM BLICK
This type of block is made from a harder lino material, it’s not soft or bendy like the first two products I mentioned. This one is trickier to carve and you need to make sure your tools are nice and sharp, but it is great for designs with very fine detail.
4 - POWERCUT SHEARS FROM FISKARS
I had to throw these PowerCut shears into this section because I have found them to be extremely useful for trimming Speedy Carve Blocks. (the pink blocks linked above) While ReadyCut blocks can be easily trimmed with an x-acto blade, Speedy Carve blocks are much more difficult to work with if you’re trying to trim the edges of a design after carving or if you’re trying to cut down a larger block so you can work with a smaller piece. These shears make it SO easy. So i definitely recommend them if you’re working with Speedy Carve!
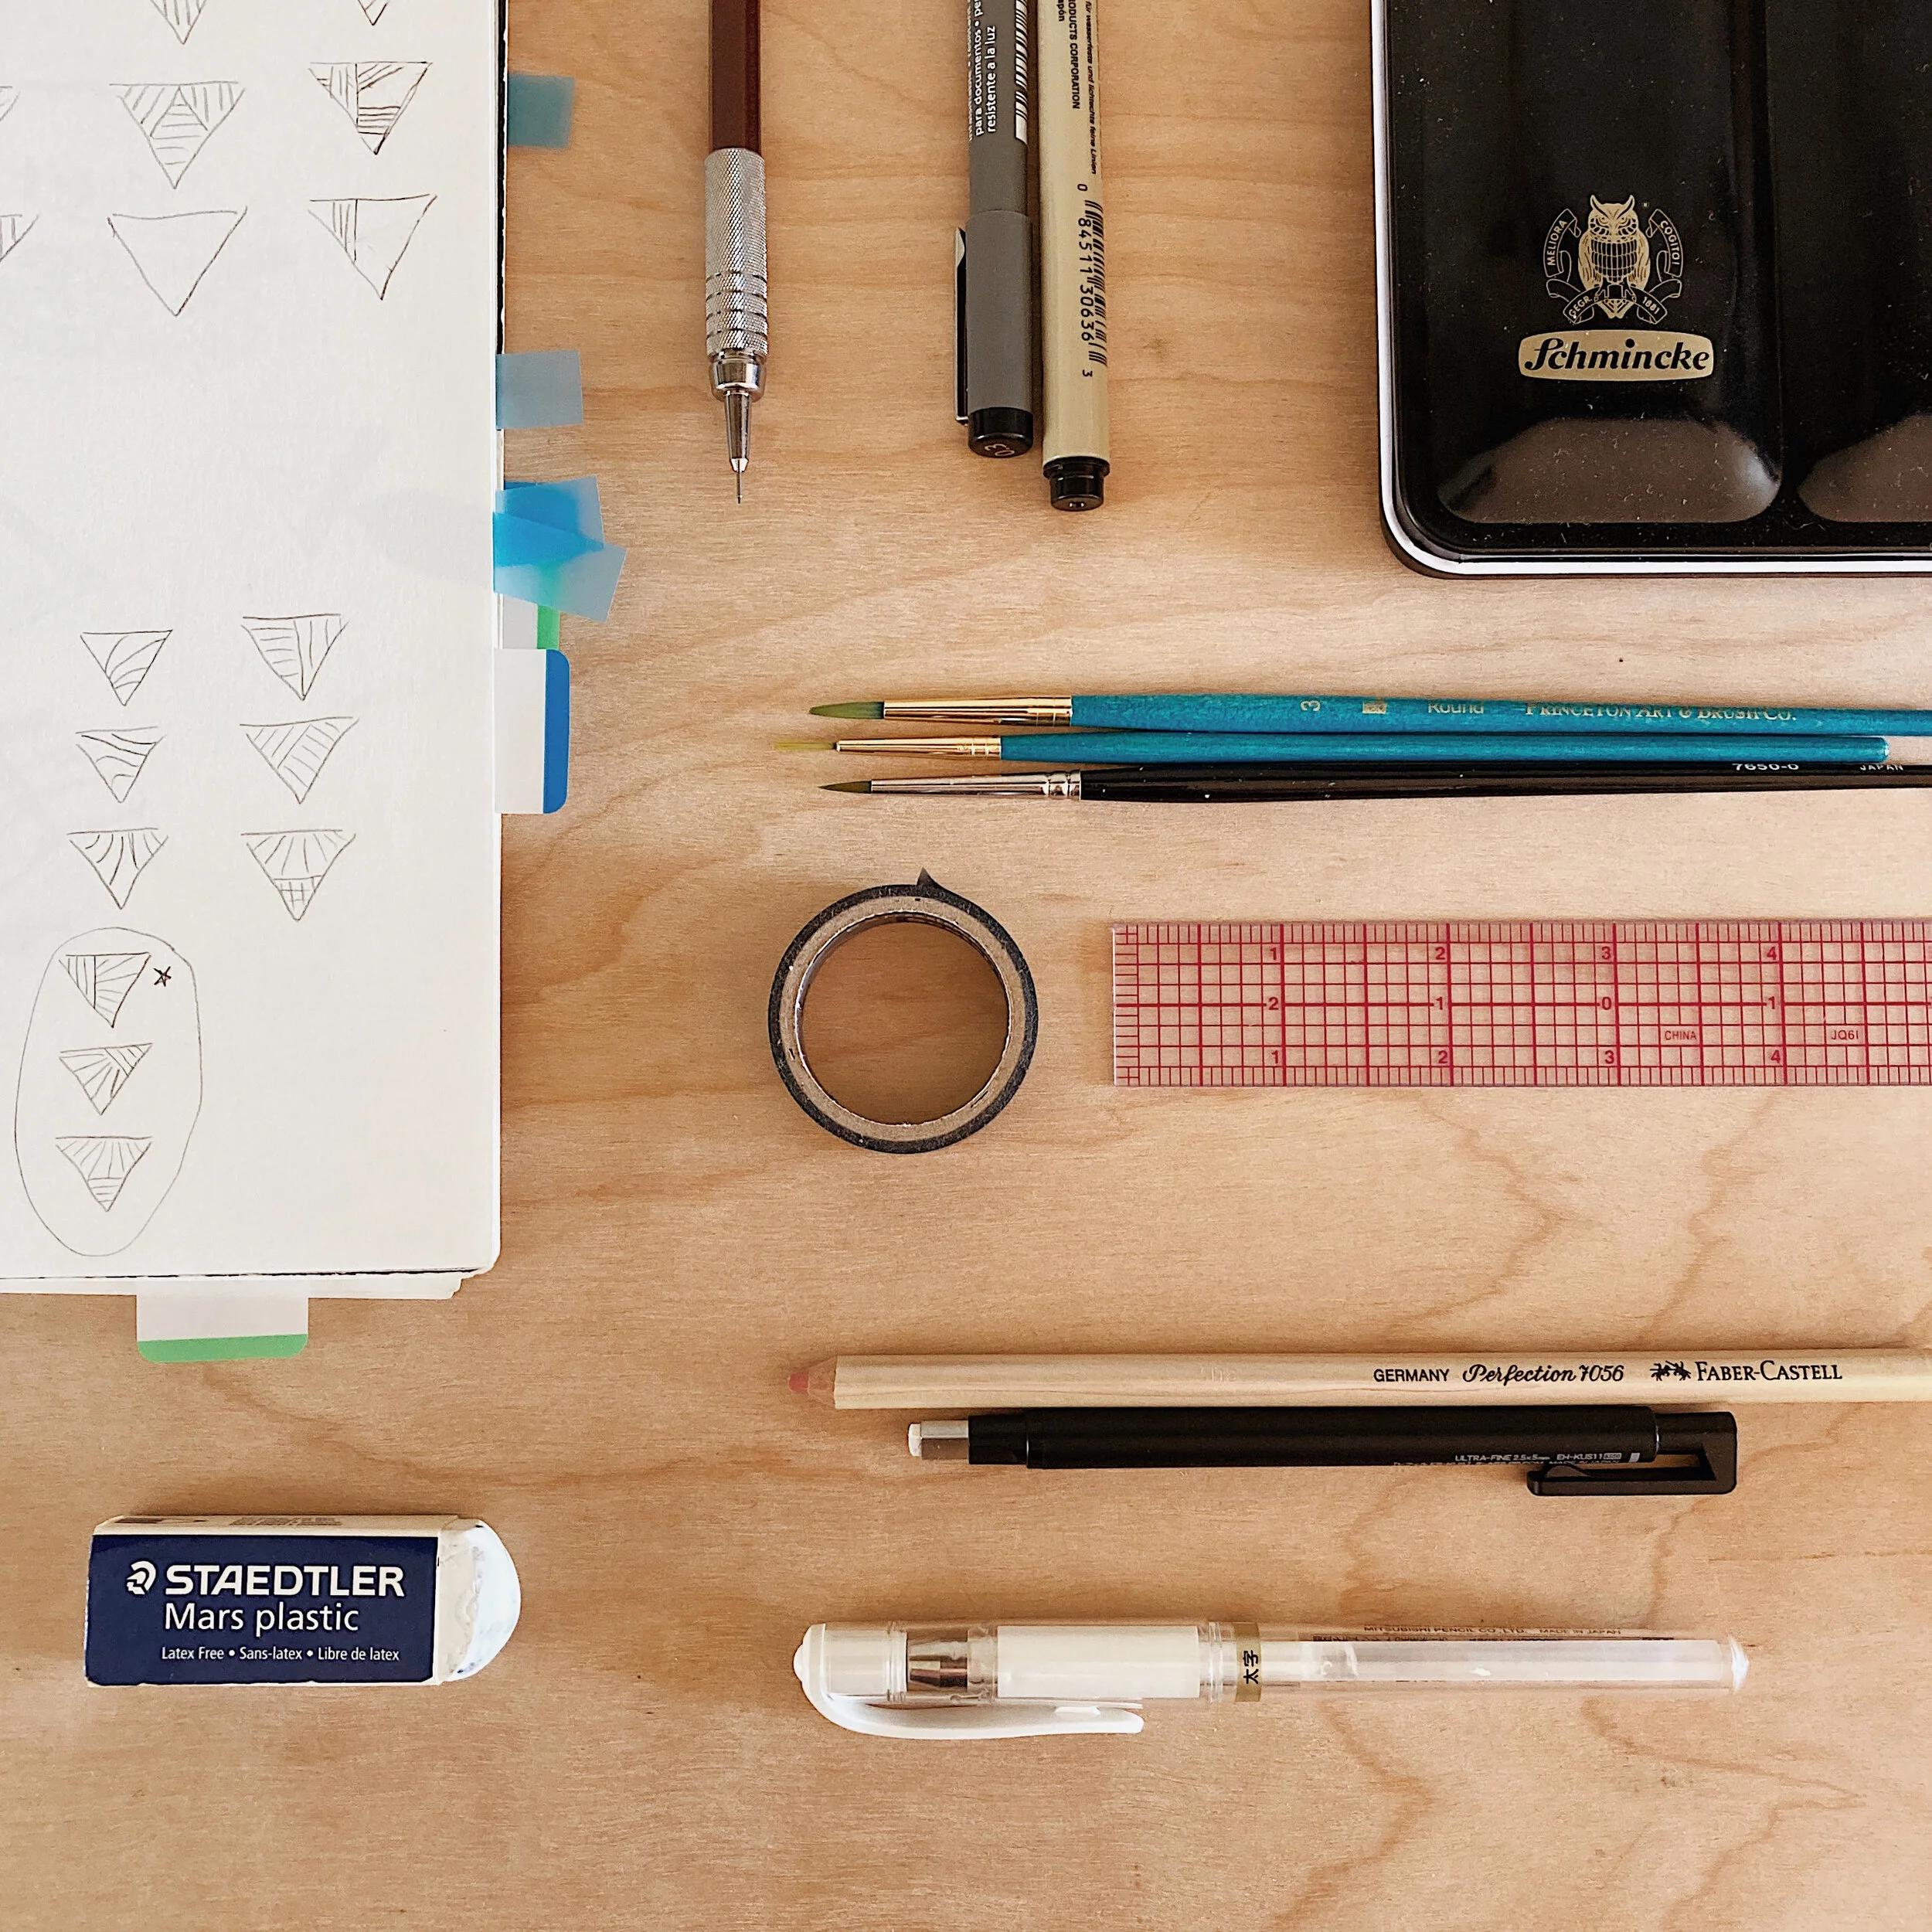
CARVING TOOLS
5 - I’m linking two types of carving tools. The main difference is cost and quality. You will mainly see me using the second of these types, but I’m also linking one that is much more cost effective if you’re just starting out.
Safety Note: Even though these tools may not look very dangerous, they can easily cut you if you’re not careful! Always be mindful of the sharp edge, and NEVER place your free hand in front of the blade when you’re carving. It’s too easy to slip and cut yourself by accident!
LINO SET NO. 1 FROM SPEEDBALL
This tool comes with interchangeable cutting tips in different sizes. I started out with a tool like this, and it’s great to work with.
I’ve recently upgraded to this tool set. Well, Josh upgraded me for my birthday last year because he’s the best husband ever. : ) I really love working with these tools and find it easier to carve super fine details with some of the tiny sizes. And they’re just absolutely beautiful. I love seeing them on my desk after a day of carving.
INK AND PRINTING SUPPLIES
After you have carved a block, it’s time to try out printing! These supplies will help get you started.
6 - BLOCK PRINTING INK STARTER SET FROM SPEEDBALL
These inks are the easiest to work with in my experience. They are smooth and dry quickly, and best of all, they’re water-based, so no harmful fumes, and they’re easy to wash with water. (Meaning they wash off your block and tools easily, not your clothes! Make sure to wear an apron or clothes that you don’t mind getting messy when you’re working with inks.) This set is a good mix of colors to get you started, but if you’re interested in the two pictured here, they are white and metallic copper.
7 - SPEEDBALL WATER-BASED BLOCK PRINTING INK
I know it’s a bit confusing that this ink and the inks above have almost the same name. They are both water-based (yay!), but this one that comes in a jar is not quite the same as the inks above that come in a tube. This one is thicker and dries much slower. The thicker quality gives it a cool look that sort-of appears to sit on top of the paper rather than soaking into the paper.
NOT PICTURED - INKING PLATE
You’ll need a flat surface to use for rolling out your ink. The inking plate linked above is a great option. I use an 8x8 piece of glass with taped edges left over from my picture framing days.
Second only to the carving process, rolling ink onto a block is one of my favorite parts of blockprinting. I love these Soft Rubber Brayers from Speedball, I have the 4inch size and the 1 1/2inch size. It’s not essential to have more than one size, but I find that it’s nice to have the small one for inking tiny stamps, and the large one for inking larger blocks or blocks with large carved out spaces where the little brayer could easily fall through the holes.
9 - PRINTMAKING PAPER FROM STRATHMORE
You’ll also need paper for making prints. This type is made specifically for block printing, so it can be a good one to start with. I don’t think you need to be too picky about paper types though. I love experimenting with cardstocks in all kinds of textures and colors.
10 - BAREN FROM SPEEDBALL
Lastly, a baren is helpful for pressing your paper onto your inked block so you end up with a nice even print. Some people just press the paper down with their hands, or you can also use a wooden spoon to smooth your paper onto the block. I love using this barren though!
•••
If you’re totally new to this process, I also recommend these online classes by Rise + Wander!
I hope this list will be helpful for you if you’re wanting to experiment with blockprinting. Comment to let me know if you’ve given it a try, or if you want to see more posts about how the process works!