How an Idea Becomes a Kit - Desert Landscape Kits
I’ve been wanting to share more about my design process and give you a behind the scenes look at how I design a product that we sell in our shop. This post shares the process behind our Desert Landscape Paint by Number Kits. I hope you enjoy seeing what goes into coming up with an original design!
Some links in this post are affiliate links, which means that we may earn a small commission if you make a purchase through that link. This never adds any extra cost to you.
How I decided on a Desert Themed Kit
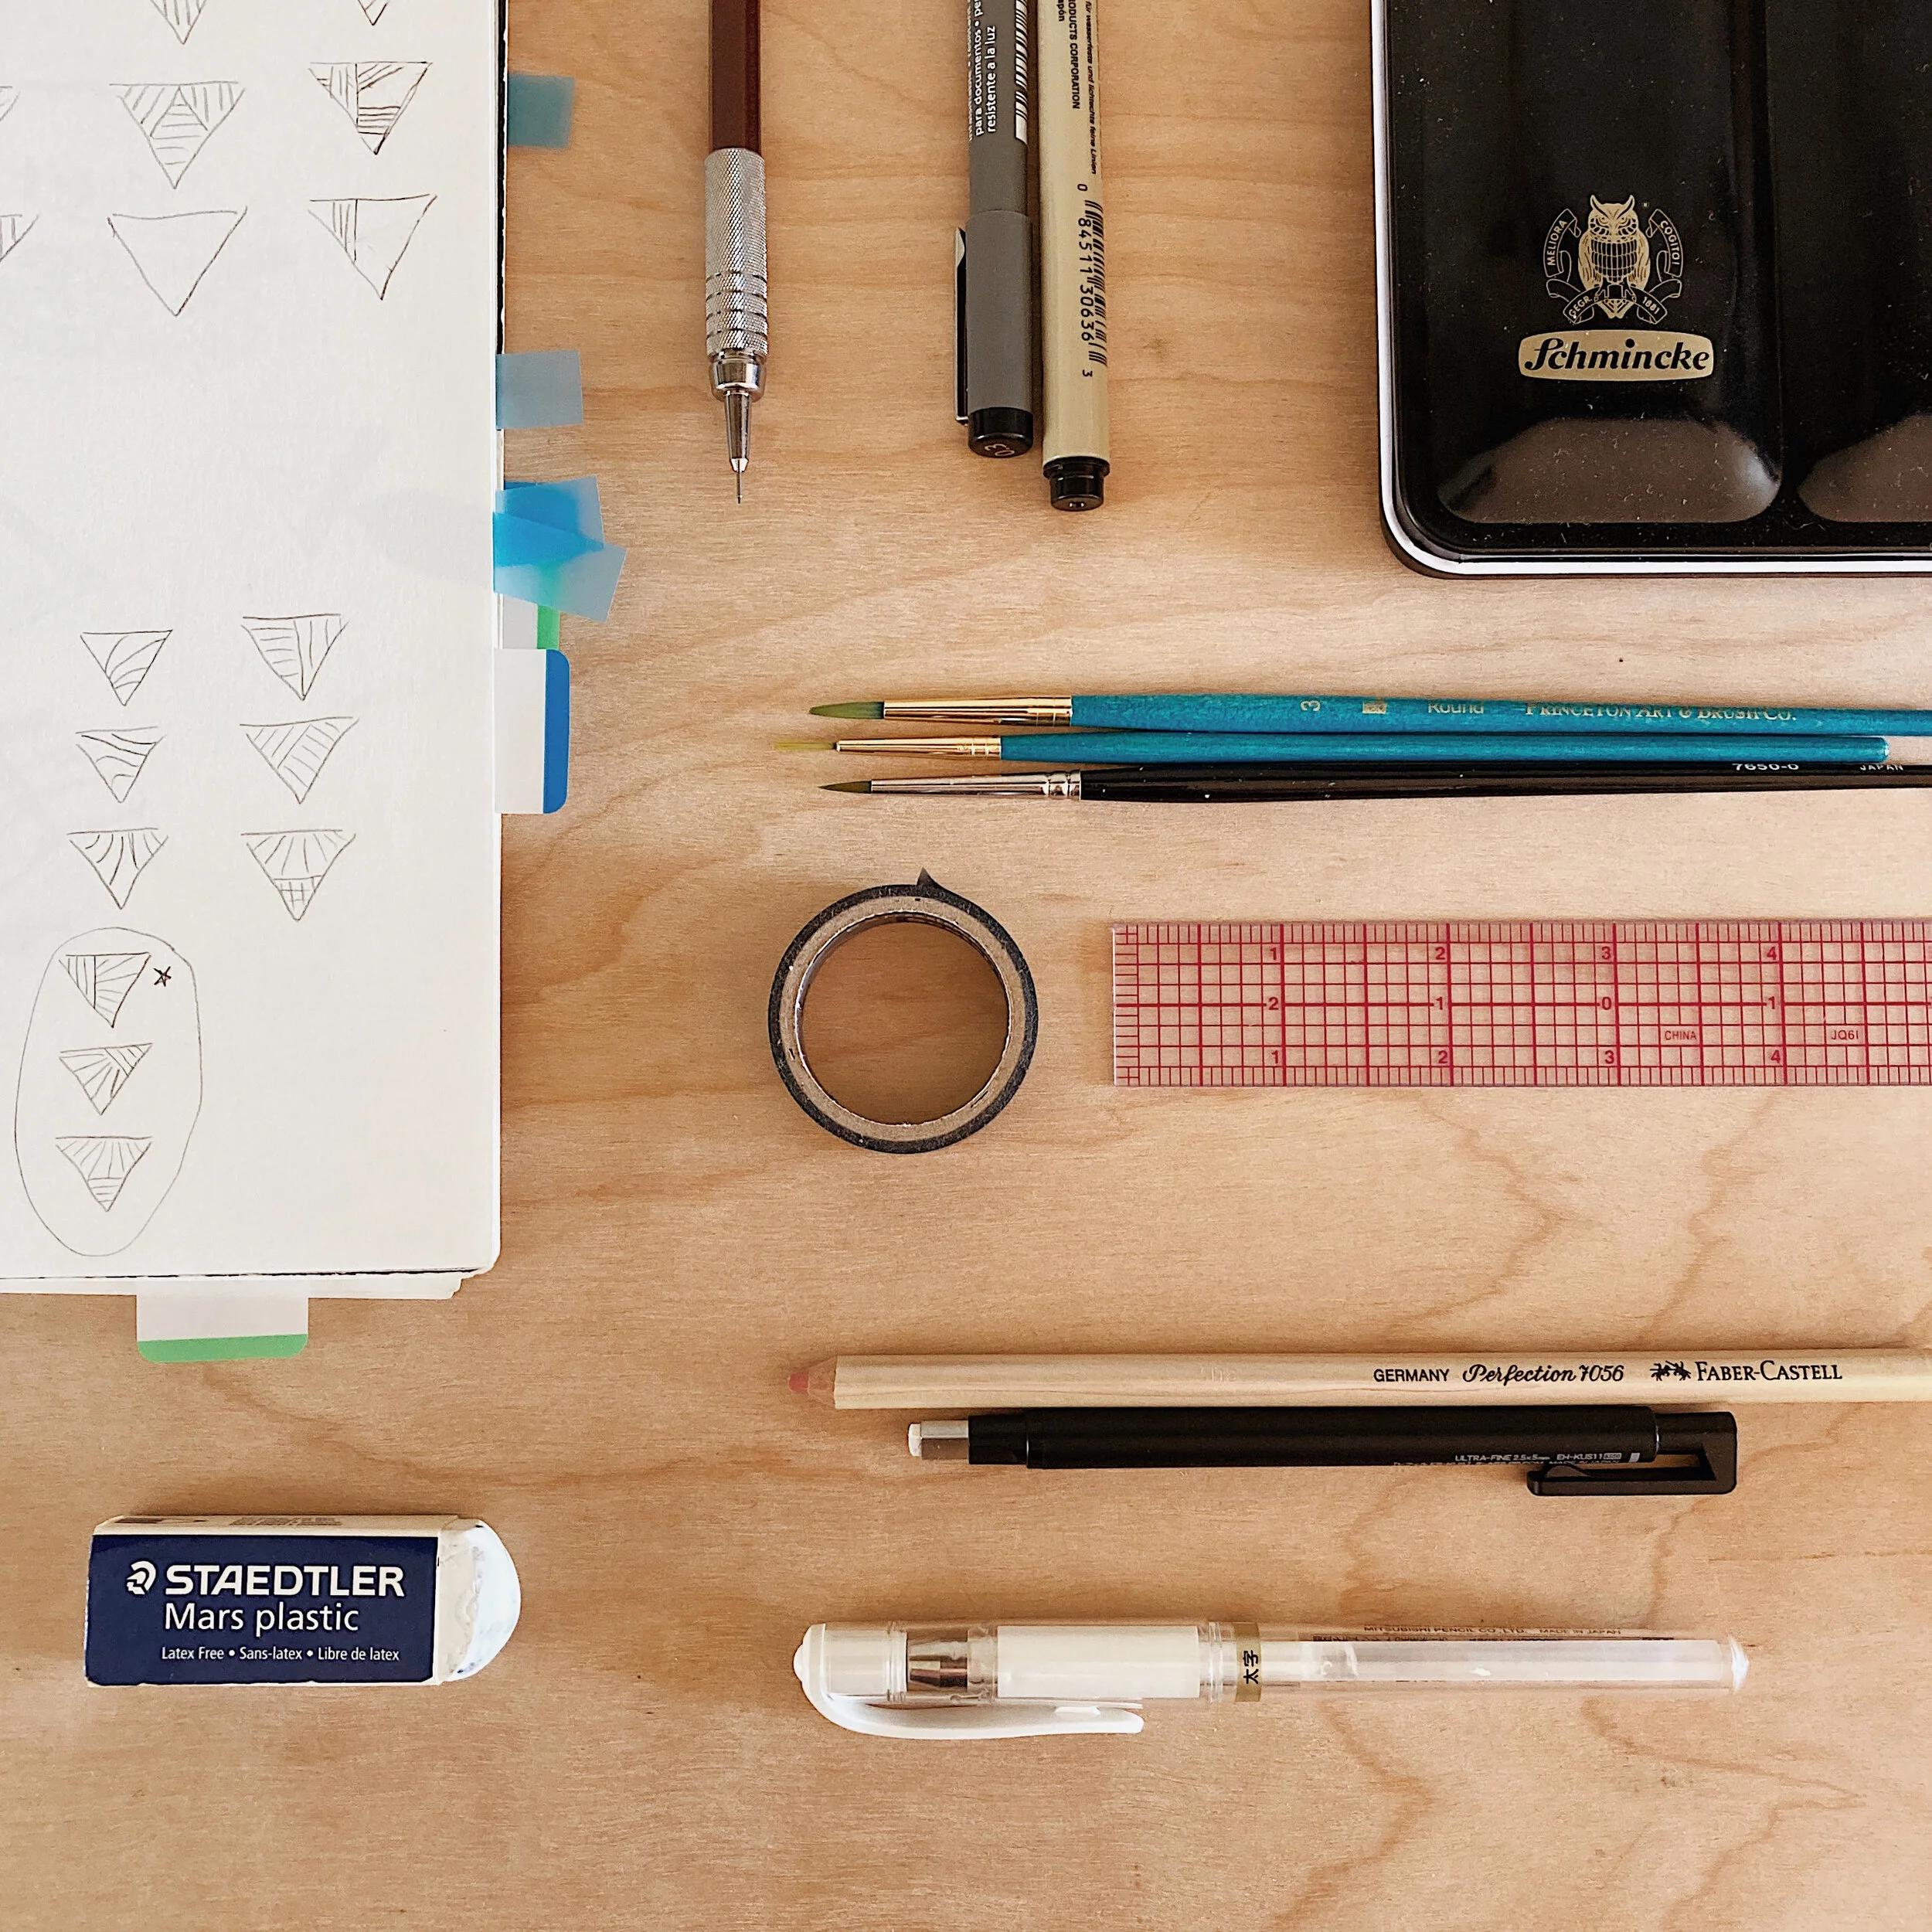
I have developed a practice of scribbling design ideas in my sketchbook as often as I can. Then when it’s time to release a new kit design, I can start by flipping through my sketchbook and seeing what stands out or what concepts I feel excited about developing further.
This time, I think my decision was influenced by two things:
1. A friend visited and said something along the lines of “I know you usually do woodsy/mountain type landscapes but do you think you’ll ever do anything desert themed?”
2. Some commenters on Instagram had asked similar questions in the last few months, basically ‘do you ever do desert landscapes?’
I have never purposefully avoided desert themes in my work, but it’s not my usual focus. Soon after my friend visited, I came across this little drawing in my sketchbook and decided that a desert design was happening!
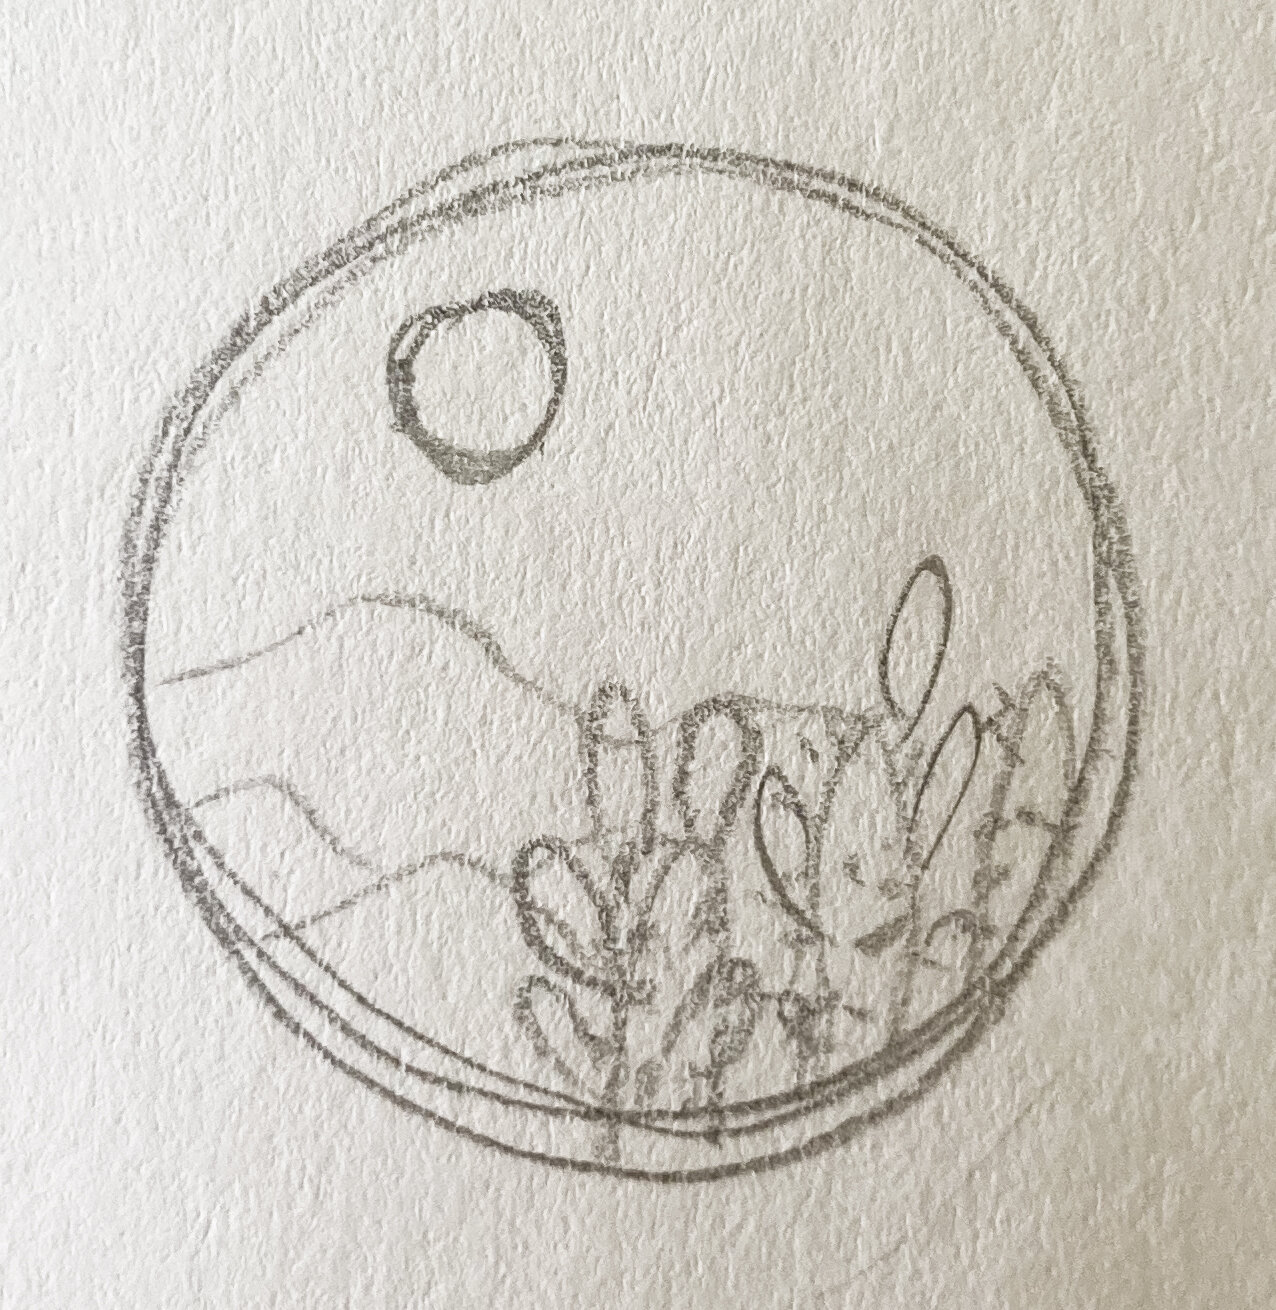

Now I’m also wondering if these cactuses that have been on our studio windowsill for the last 5 years may have subconsciously influenced me?
FIRST DIGITAL SKETCH
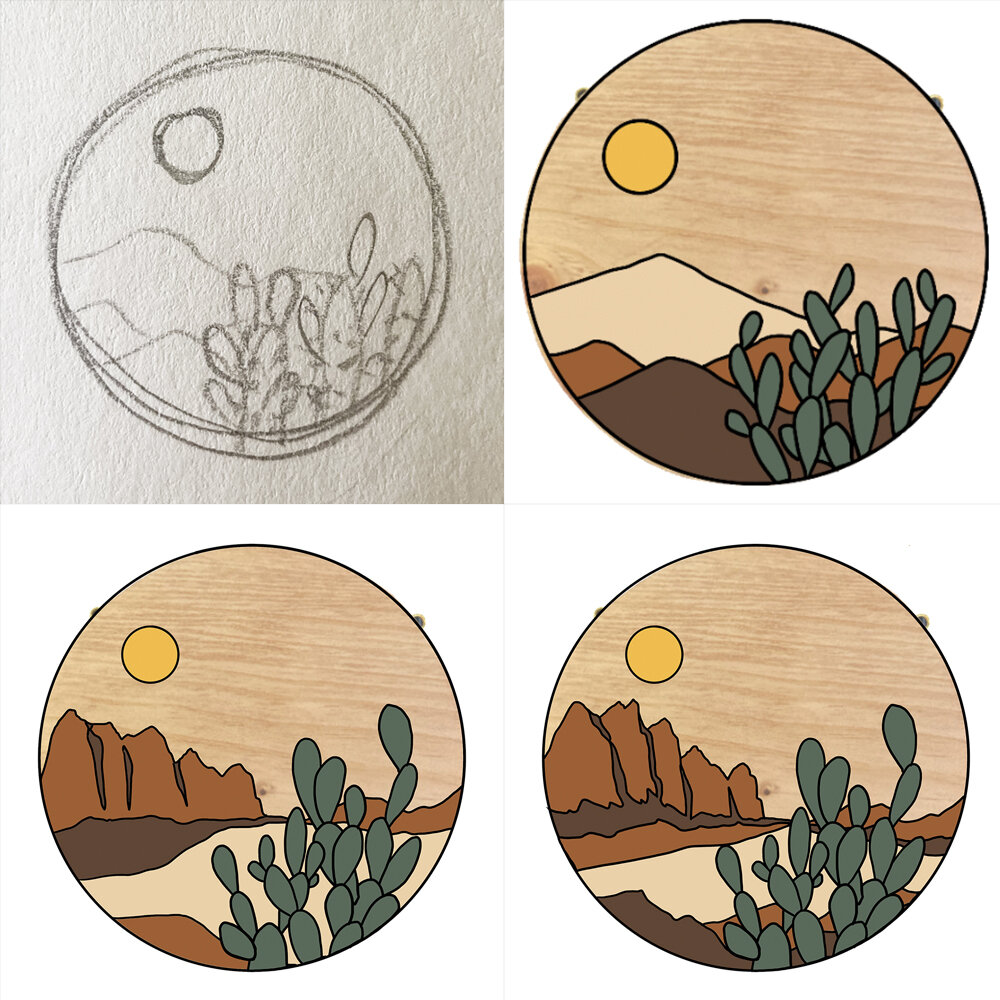
I had decided on a subject and general composition for our new kit, so the next step was to see what I could make out of my little sketch.
Here’s the first quick digital drawing that I drew using Procreate with my ipad and apple pencil. You’ll see that I kept it pretty similar to my original drawing. I didn’t use any references for this first sketch, I just drew everything out of my head.

WORKING OUT SOME DETAILS AND DESIGN QUESTIONS
I decided that I still liked the composition and the colors worked well, but I wanted to think more about a few parts of the design.
Before I worked on the next version, I wrote a quick list of changes to make and questions to think about. It always helps me to write down thoughts like these even if they should be easy to remember. It gives me more brain space to be creative instead of trying to remember thoughts I’ve had before. Here’s the list:
- Re-draw the cactuses in the foreground. Definitely give them more height.
- Does this kind of cactus even really exist in deserts?
- Should the cactus have spines?
- Should the mountains look more like desert rocks?

First I looked up the cactus question and learned that yes, cactuses like the ones I drew do exist in the desert! Yay! I borrowed this cactus from my windowsill and used it as a reference for the new drawing. I think it helped me make the new version much more realistic and fun looking.
On to another question from my list: Should the cactus have spines? I made a new layer in procreate (I can draw in a new layer without altering my original art, then turn the layer on and off to see a quick before/after and decide if I like the change.) and started sketching some spines. They made the cactus look hairy and I didn’t like it at all haha. The spines also added more detail to the design than I wanted, so my decision was made. No spines.
Last question: Should the mountains look more like desert rocks? While I wasn’t unhappy with my simple mountains from the original sketch, I wondered if something different might look better in this landscape. I’m not familiar enough with desert landforms to draw from my imagination, so I decided to do some research on google images.
The landscapes in the photos that popped up looked very different from the mountains in my drawing, so I decided to experiment with a new background.
Here’s what the new version of the design looked like after considering all these changes:

I want to take a minute to explain a little more about this part of the process - how I sometimes use references, but end up with original work that is true to my style, not copied from anyone else.
I used my laptop to look at a LOT of images. Most were photos of buttes and the surrounding desert. I studied each one to see how they rise from the desert floor, what the slope looked like on the sides, and the general characteristics of the rock. After studying the images, I closed my laptop, and sketched a new landscape on my ipad. It’s important to me that I’m not copying any particular photo that I saw on google. Even if the photo depicts a real place I could visit and draw myself, I don’t think it’s right to copy the composition and angle that a photographer chose for their own work - especially since I will be profiting from this design. This would be different if I took the photo or if the photographer gave me permission to use their work as a direct reference, but that’s not the case here.
To summarize:
1 - I used several photos to generally learn the characteristics of a landscape I wanted to draw instead of borrowing from one photo.
2 - I didn’t actually look at the reference photos when I drew my design. I drew from my newly-learned knowledge of what desert rock forms tend to look like.
This explanation is specific to this particular design and doesn’t cover every situation or aspect of making original work while using references. It’s a topic I’ve wanted to talk about though, because it can be hard to learn how to make original work without copying others. Leave a comment if you would like to keep hearing more about this or if you have questions!
Refining the details
This new version made me realize that I definitely wanted to go with the more ‘authentic’ desert look instead of the mountains from my original sketch. While I felt happy with my general placement and height of the landscape in the background and foreground, the details needed some refining. So I used the new sketched mountains as a guide and drew what became the final version with more refined shapes and a few added details that would allow use of both the light and dark brown colors to show more depth in the design.

HERE’S THE FINAL KIT!

If you’d like to try your hand at painting one of our designs, you can get one in our shop!
Hope you enjoyed learning about my design process! Please let me know if you would like to read more posts like this one!