Mini Prints Framing Guide
We know that sometimes it can be tricky to find affordable framing options for our mini prints, especially if you want to frame more than one, so we’ve put together this guide full of display ideas and framing instructions! We hope one of these ideas might work for you or at least give you a starting point in your search for a beautiful frame for your artwork!
*If you are hoping to purchase prints and the ones you want are sold out, don’t worry, you haven’t missed out! We restock our shop every few weeks. Join our email list to find out exactly when the next restock is coming!
While we carefully checked sizing and descriptions to make sure that all of the products linked below should work to display our prints, please double check the specs and details before buying to make sure that you will be happy with your purchase. *All measurements are in inches.
Some links in this post are affiliate links, which means that we may earn a small commission if you make a purchase through that link. This never adds any extra cost to you.
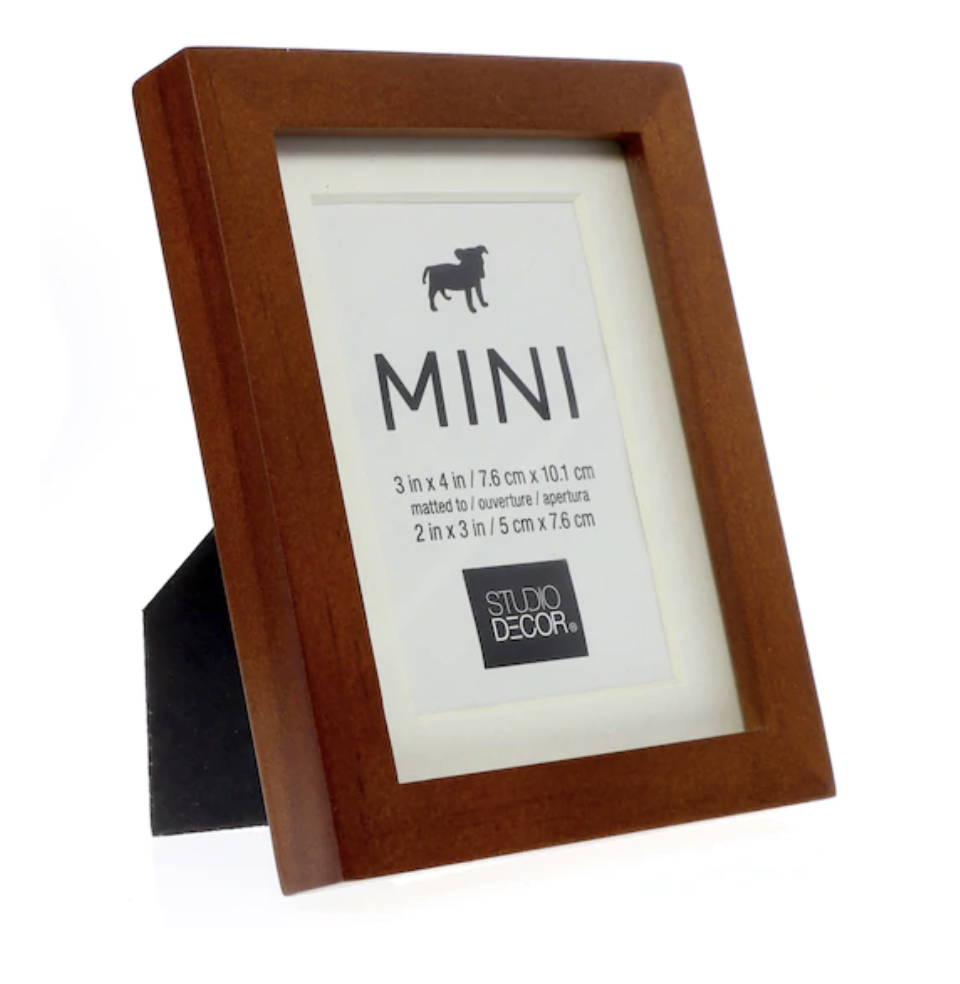
1 - FIND A FRAME FOR 3x4” ARTWORK
Obvious, right? It’s a tricky size to find, but here’s a little frame we found that is the perfect size for our mini prints, and it’s available in several colors!


2 - USE A FRAME WITH A MAT
If you can’t find a frame you like in the right size, or if you want to frame several mini prints together, a mat might be a great way to make that work!
A few tips to keep in mind
Double check the description and listing information before you purchase a frame to make sure it can accommodate a mat. While most frames will be fine, some are made to accommodate only the thickness of a photo or single print.
When looking for or custom ordering a mat, the opening(s) in the mat should be a bit smaller than your print. We recommend 2.625 x 3.5 inch openings to allow enough overlap on each side.
To attach your prints to the mat, you’ll need acid free tape. (Non-acid free tape can leach into your print and mat and cause discoloration over time.) You only need one small piece of tape to secure the back of the top side of each print to the back of the mat.
MATS FOR FRAMING ONE PRINT
Here’s how one of our mini prints would look with a mat in several standard sized frames.

To order these custom cut mats, click the link below that goes with the frame size you want, then type the instructions listed after “type:” into the text box right above the quantity box and Add to Cart button.
3.5 x 5 - Purchase this mat - type: “OD 3.5x5. Opening 2.625x3.5”
4 x 6 - Purchase this mat - type: “2.625x3.5”
5 x 7 - Purchase this mat - type: “2.625x3.5”
6 x 8 - Purchase this mat - type: “2.625x3.5”
If you don’t already have a frame, this shop has several beautiful options in every size!
*Some already include mats.
MATs FOR TWO OR MORE PRINTS
If you want to frame more than one mini print, there are several mat layouts to choose from! Pick your favorite below and then find the matching link and ordering instructions. Matboard Shop has custom templates sized specifically for our mini prints in each configuration below.
How to order mats
Find the size below that matches the frame you want. Click the link for the mat, and type the bold text into the text box right above the Add to Cart button.
5x7 -Order this mat
type: 2 hole [forestculture]
6x8 - Order this mat
type: 2 hole [forestculture]
8x10 - Order this mat
type: 4 hole [forestculture]
11x14 Landscape-Order this mat
type: 6 hole [forestculture]
11x14 Portrait - Order this mat
type: 9 hole [forestculture]
If you don’t already have your frame, you can purchase several sizes from this shop.

Here are some options using custom sized panoramic frames.
5x10 - Order this mat
type: OD 5x10 Mat - 3 hole [forestculture]
6x18 - Order this mat
type: OD 6x18 Mat - 5 hole [forestculture]
6x24 - Order this mat
type: OD 6x24 Mat - 6 hole [forestculture]
Frames in these sizes are available here:
5x10, 6x18, 6x24

3 - USE A GLASS FLOATER FRAME
Another option for displaying more than one print is to use a glass floater frame. Refer to the images above to see how you could arrange your prints in different sized frames. Here are some links to a few frames we found:

A 6x4 landscape frame. Also available in more sizes and colors.

This frame is 5x7. It’s also available in more sizes and wood tones.

An 8x10 option in white.

This one is 11x14. It’s also available in two smaller sizes.
4 - USE OUR WOODEN PHOTOHOLDERS
These are available in our shop here. The slot can hold up to 7 prints, so you can rotate and display a different one whenever you want!
To display only one print, place a 3x4 piece of thin cardboard in the slot behind the print so it will stand up straighter and won’t lean back too far.


*If you chose to display your prints this way, we recommend that you display your photoholder in a place where chances of getting dirty or wet are very low since there is no protective layer in front of your prints.
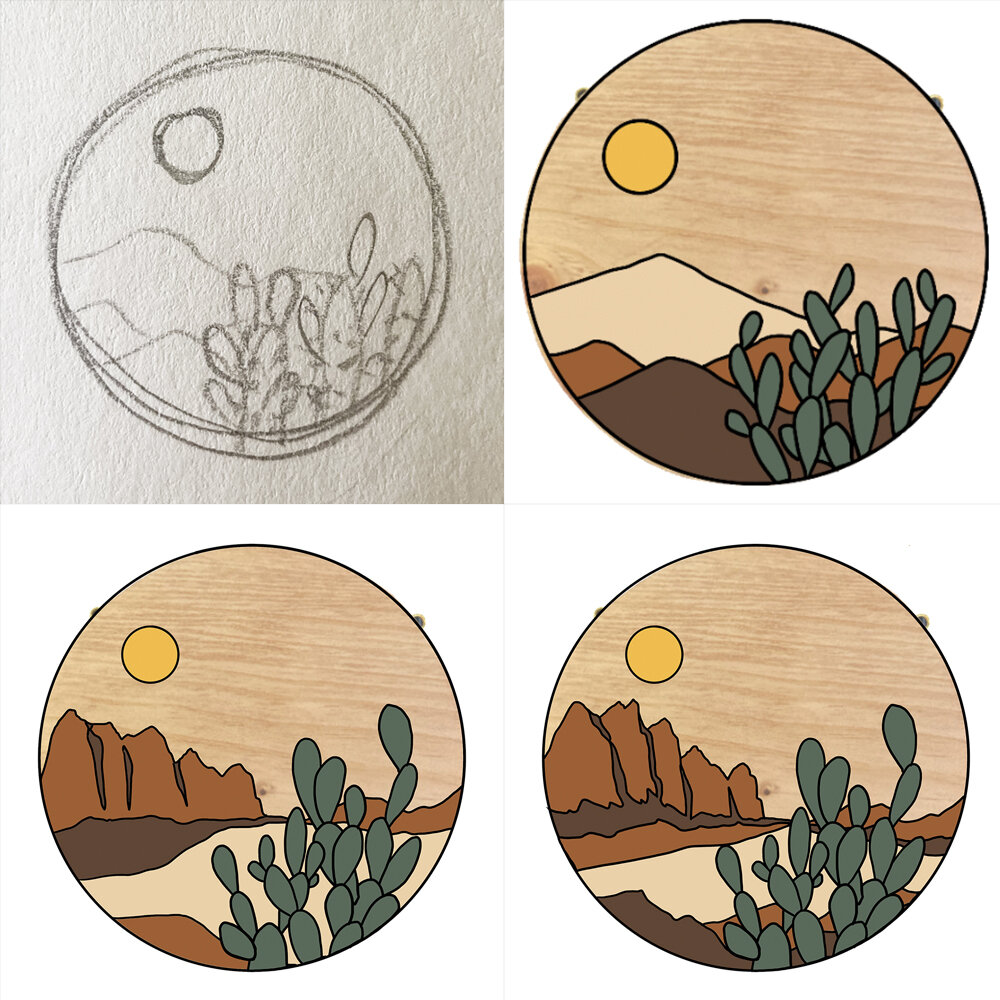
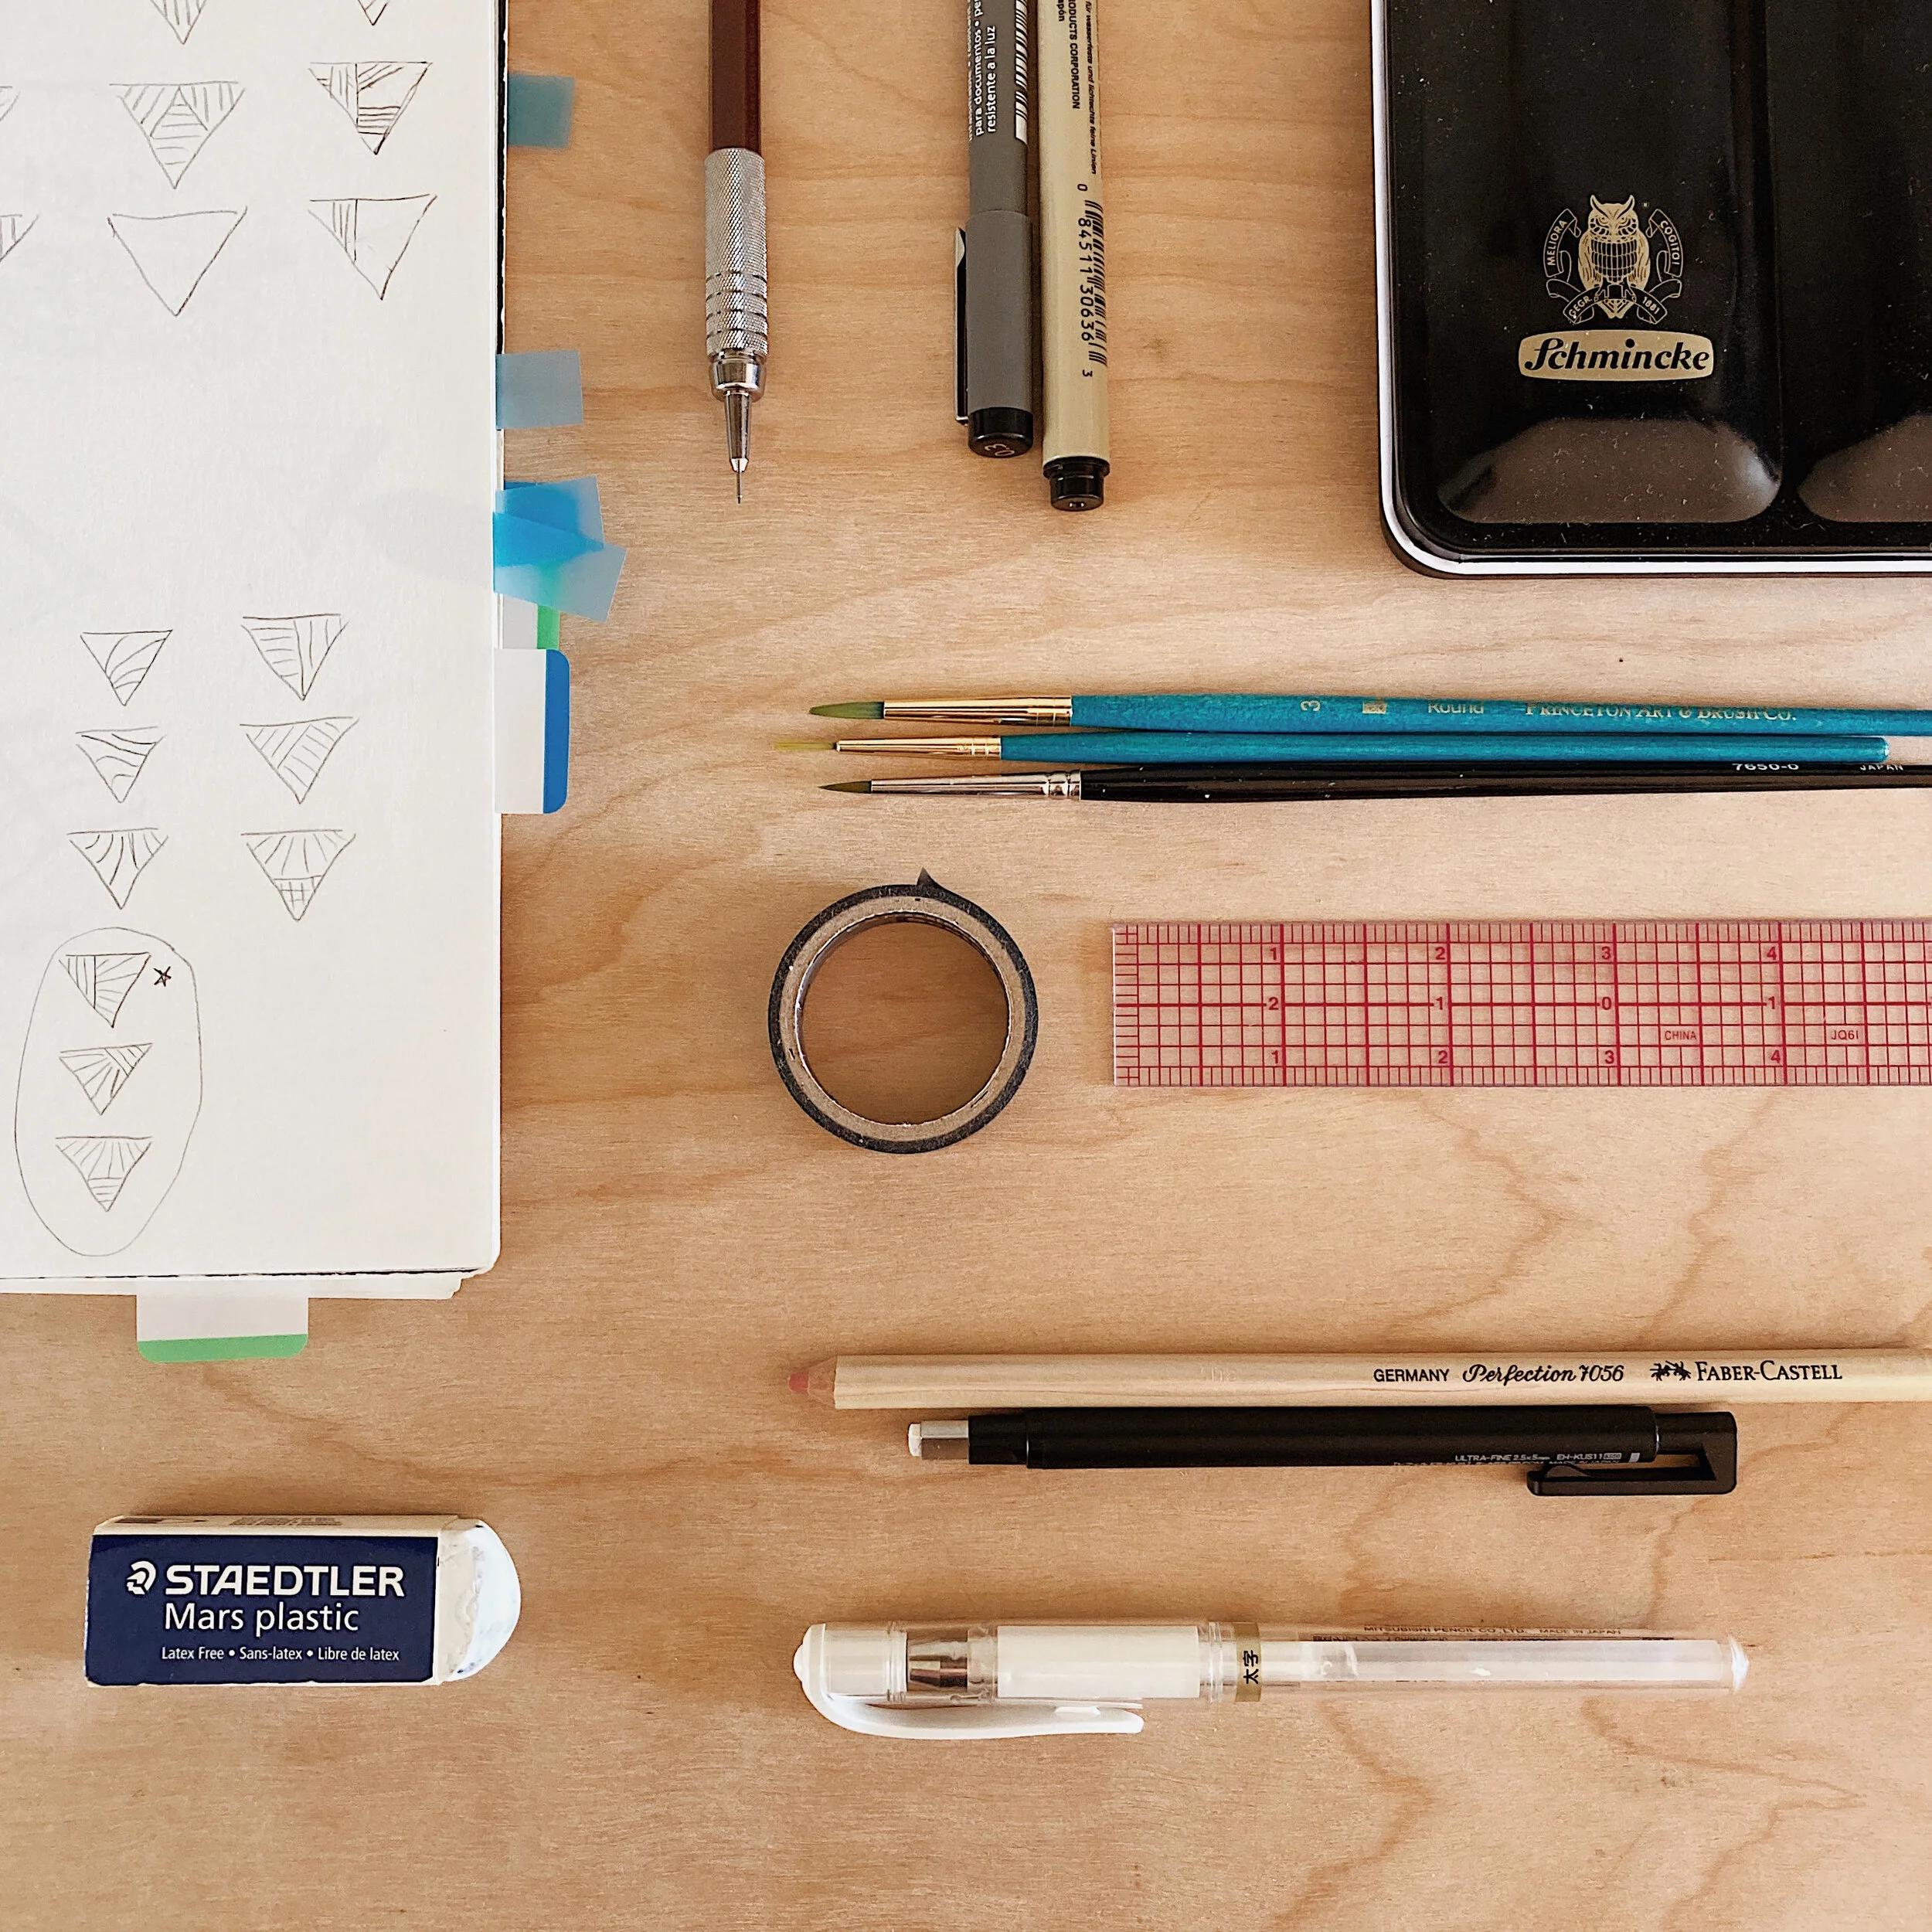
5 - TRIM YOUR PRINT TO FIT A 3X3” FRAME
I would not have thought of this idea myself, but I have seen the results after a few customers did it and it looked amazing! But a word of caution, PLEASE ONLY ATTEMPT THIS IF YOU ARE SURE YOU CAN MEASURE AND CUT YOUR PRINT CORRECTLY. If you cut too small there’s no going back!
Measure (twice!) and draw lines in pencil on the back of your print before you cut. You need to remove one vertical inch, so in most cases you will cut off 1/2” from the top and 1/2” from the bottom, but for a print like our Night Sky Triangle we recommend cutting a full inch off of the bottom and not cutting anything off the top. Please double check before cutting to make sure that the design will be centered how you want it. Also, measure your actual frame first to make sure that the dimensions are exactly 3x3”.

Here’s a cute option from Michaels. It’s also available with a black edge here.

6 - CLIP FRAMES, MAGNET BOARDS, ETC.
I have also seen our customers using displays like magnet boards and clip strings to display prints. Here are a few ideas to get you started!

How cool is this magnet board? There are a few more colors and sizes available too. Pair it with these little gold magnets!
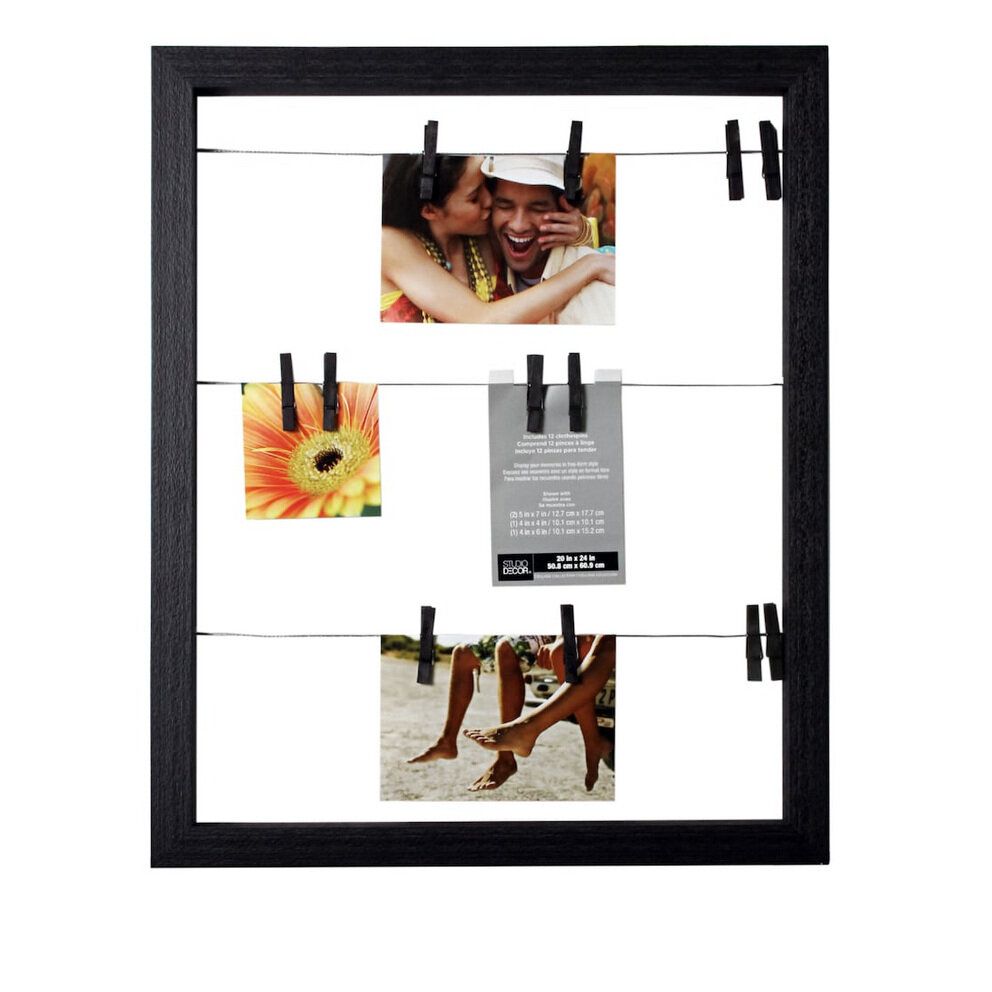
Here’s a clip frame option! We also recommend these little colored clothes pins if you prefer them smaller than what comes with the frame.

The wooden ends of these clip strings come with an easy, ready-to-use adhesive, so all you have to do is stick them to the wall!
We hope this post gives you some good ideas for displaying your mini prints! If you use our recommendations to frame or display any art that you buy from us we’d love to see how it works out. Tag us @forestculturedesign in your posts or stories on Instagram!